
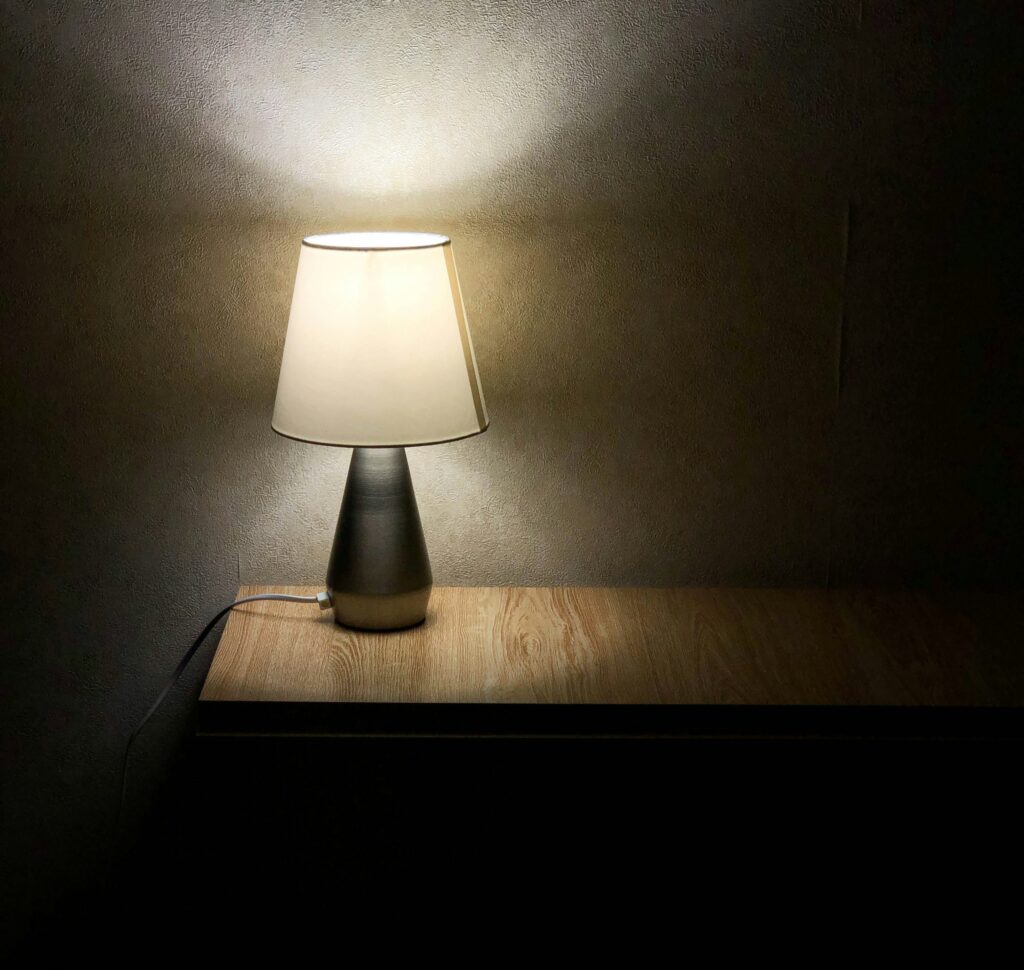
Flickering lights are a common household annoyance that can signal issues beyond a tired bulb. When the lamp itself isn’t the cause, the problem often lies in the wiring, breaker, or electrical panel, impacting both safety and reliability. This guide explores non-bulb reasons for flickering lights, how panels and breakers contribute, and why dimmers and LEDs often don’t play nicely together. You’ll find clear diagnostic clues, immediate safety steps to reduce fire and shock risk, and guidance on when to call a professional. We also cover common repair paths, routine maintenance to limit recurrence, and how homeowners in Des Moines and Central Iowa can arrange a local inspection.
What Causes Flickering Lights When It's Not the Bulb?
When a bulb isn’t at fault, flicker results from anything that changes or interrupts the voltage reaching a fixture. Common culprits include loose wiring, overloaded circuits, service-side voltage swings, faulty dimmers, and failing breakers. These issues create intermittent contact, arcing, or sudden current drops, manifesting as flicker in one fixture, several, or across the whole house. Observing the flicker pattern—isolated vs. whole-house, timing, and any unusual sounds or smells—aids diagnosis before repairs begin.
Here’s a quick list of common non-bulb causes to help homeowners identify likely sources and take safe next steps:
- Loose wiring: Poor terminations or vibration produce intermittent contact and arcing at fixtures or junctions.
- Overloaded circuit: High-draw appliances cause voltage dips when motors or heaters cycle on.
- Faulty circuit breaker: A worn breaker can lose reliable contact and create intermittent supply.
- Incompatible dimmer + LED: Older dimmers and low-load LED drivers can create strobe-like flicker.
- Utility voltage fluctuation: Service-side issues or large nearby loads can cause whole-house flicker.
These causes produce different signs and require distinct responses. The table below helps match what you observe to the appropriate immediate action.
| Cause | Symptom | Immediate Action |
|---|---|---|
| Loose wiring | Localized flicker, burning smell, or visible scorch marks | Turn off power to the circuit, avoid using the fixture, and call an electrician |
| Overloaded circuit | Lights flicker when appliances start; breakers trip under load | Reduce simultaneous loads, unplug heavy appliances, and schedule a load assessment |
| Faulty breaker | Repeated trips or flicker across fixtures on the same breaker | Do not keep resetting it; call a licensed electrician for testing |
| Dimmer/LED mismatch | Flicker when dimmed or a humming switch | Test with a known-compatible bulb, and replace the dimmer with an LED-compatible model |
Watching the pattern of symptoms and following these immediate steps reduces risk and helps you decide whether a DIY check is safe or if professional intervention is needed. The following sections explain how loose connections and overloads create these observable effects.
How Do Loose Electrical Connections Lead to Flickering Lights?
Loose connections create intermittent contact between conductors, producing rapid voltage changes at the fixture that appear as flicker. Vibration, poor terminations, or corrosion increase resistance at the connection, generating heat and potentially arcing. You might observe a single fixture flicker, feel a warm outlet cover, or find charred insulation near a connection—all signs of a localized fault. Because arcing generates heat and can ignite nearby materials, the safe immediate step is to shut off power to the affected circuit and call a licensed electrician to check torque and replace terminals as needed.
Loose connections not only cause flicker but also accelerate conductor damage; addressing them promptly reduces both nuisance and fire risk.
Can Overloaded Circuits Cause Intermittent Light Flickering?
Yes. When a circuit is overloaded, voltage dips as high-demand appliances start, causing transient dimming or flicker for lights on that same circuit. Typical examples include a space heater or microwave sharing a kitchen circuit, or a window AC cycling on and producing a visible dim. The root cause is increased impedance and the inrush current motors need at startup, which momentarily lowers voltage available to lights. If flicker follows appliance use, breakers trip under load, or lights steady when the appliance is off, an overloaded circuit is a likely culprit.
Fixes range from redistributing loads and adding dedicated circuits for heavy appliances to a panel capacity assessment that recommends rebalancing or upgrading the service.
How Do Electrical Panel Issues Affect Flickering Lights?
Problems at the electrical panel create instability where multiple circuits connect to the service. Worn bussing, corroded lugs, loose main connections, and failing breakers produce system-level voltage irregularities that appear as flicker across unrelated circuits. Panel faults often cause whole-house or multi-room flicker and may come with burning smells, scorch marks, or breakers that don’t hold. Diagnosing panel issues requires both a visual inspection for heat damage and electrical testing—thermal imaging, torque checks, and load testing—to find failing parts versus capacity shortfalls.
| Panel Issue | Risk / Effect | Recommended Fix |
|---|---|---|
| Loose main lug or service connection | Intermittent whole-house flicker and overheating | Tighten or replace lugs; coordinate with the utility if required |
| Worn bussing or corrosion | Arcing, hotspots, and unreliable circuit supply | Repair or replace bussing; consider panel replacement if damage is extensive |
| Failing breaker | Localized flicker and frequent trips | Replace the breaker and test neighboring breakers for fatigue |
| Insufficient capacity | Recurring overloads and dimming under load | Upgrade the panel to higher ampacity or add a subpanel and redistribute loads |
After evaluating these signs, a homeowner can decide whether a component replacement or a full panel upgrade is the right move. If you see visual damage or multi-circuit flicker, get professional help promptly.
Rewired Iowa offers local diagnostics and panel upgrades to resolve panel-related flickering and restore safe power. Our technicians handle panel testing, breaker replacement, and full panel swaps, backed by a 5-Year Workmanship Guarantee and straightforward pricing. If you see whole-house flicker, smell burning, or experience repeated breaker failure, contact a licensed local team—Rewired Iowa provides 24/7 emergency response and scheduled inspections to assess panel condition and recommend repairs.
What Role Does a Faulty Circuit Breaker Play in Light Flickering?
A failing circuit breaker can intermittently open or develop degraded internal contacts, causing momentary loss of supply and visible flicker on the fixtures it serves. Breaker fatigue stems from mechanical wear, thermal cycling, and internal corrosion, which raise resistance and reduce reliable operation. Warning signs include flicker tied to a specific breaker, frequent nuisance trips, or a breaker that feels warm—all suggesting it no longer holds consistent contact. Replacement is often the right fix, but proper testing should determine whether the breaker, its terminal, or upstream bussing is at fault.
Because repeatedly resetting a suspect breaker risks equipment damage or fire, de-energize the circuit and schedule professional testing and replacement when needed.
When Is an Electrical Panel Upgrade Necessary to Fix Flickering Lights?
A panel upgrade is needed when the service lacks capacity, contains obsolete components, or shows repeated faults that cause ongoing voltage instability and flicker. Triggers include persistent overloads despite load redistribution, panels with visible arcing or corrosion, and older panels that don’t meet current safety standards. Upgrading increases ampacity, improves breaker layout and labeling, and replaces degraded bussing—all of which reduce voltage drops and limit flicker under modern loads. Benefits also include room for EV chargers or generators and fewer nuisance service calls.
Have a professional inspect the system to get a clear cost/benefit estimate, permit guidance, and a timeline; many upgrades can be completed in a few days once approvals and parts are in place.
Why Mismatched LED Bulbs and Dimmer Switches Cause Flickering Lights
Dimmers and LED lighting can cause flicker when the dimmer technology and the LED driver aren’t compatible. LEDs behave differently than incandescent filaments under phase-cut dimming: legacy TRIAC dimmers expect a minimum resistive load and simple phase-angle control, while many LED drivers need a stable input and different control methods. The result: strobe-like flicker, restricted dimming range, or audible humming. Fixing it means matching the dimmer, driver, and lamp—a compatibility checklist helps you determine which component is at fault and what to change.
The table below links common dimmer types and LED driver issues to practical solutions that stop flicker.
| Component | Compatibility Issue | Solution |
|---|---|---|
| Legacy TRIAC dimmer | Requires minimum resistive load; LEDs present low load | Replace with an LED-compatible electronic dimmer |
| Electronic low-voltage dimmer | Mismatch with LED driver protocols | Match the dimmer to the LED driver spec or use a compatible driver |
| Incompatible LED driver | Flicker at low levels or when dimmed | Install a driver rated for the dimming method or use an LED with an integrated compatible driver |
Matching dimmer and LED specs eliminates flicker and preserves dimming range, especially when retrofitting LEDs into older circuits.
How Does Incompatible LED Lighting Cause Flickering?
LED drivers need a steady control signal and, in some cases, a minimum load to regulate current. If the dimmer or circuit can’t provide that, the LED output becomes unstable, resulting in strobing or intermittent dimming. Because LED drivers convert AC to regulated DC and include sensitive electronics, they can react poorly to phase-cut dimming. A safe DIY check is swapping the suspect LED for a known-compatible incandescent or a dimmer-compatible LED—if the flicker stops, incompatibility is likely. But replacing dimmers or working inside a switch box involves line-voltage work and should be done by a licensed electrician for safety and code compliance.
Resolving compatibility usually means choosing an LED-compatible dimmer or an LED whose driver is specified for your dimming method, preventing recurring flicker and premature driver failure.
What Are the Best Fixes for Dimmer Switch Flickering Issues?
Fixes range from simple bulb swaps to full dimmer and driver replacements, depending on the root cause and your comfort with electrical work. Quick steps include testing with a known-compatible bulb and checking that the bulb and socket are secure. Mid-level fixes involve swapping in an LED-compatible electronic dimmer and ensuring its rated load exceeds the total wattage of connected LEDs. Long-term solutions may require installing a compatible LED driver or reconfiguring wiring to separate lighting loads; those typically need permits and professional installation.
Because dimmer replacement involves live circuits, hiring a licensed electrician ensures the right dimmer choice, secure terminations, and code compliance—plus a warranty on the work.
When Should You Call a Professional Electrician for Flickering Lights?
Call a professional when the flicker pattern or accompanying signs suggest a safety hazard. Immediate help is required for whole-house flicker, a burning smell, hot outlets or switches, visible scorch marks, frequent breaker trips, or flicker that comes with appliance problems. For these issues, a licensed electrician should perform diagnostics and repairs to prevent fire and equipment damage. Less severe or isolated problems—like a single lamp with a loose bulb—can be checked safely at home, but persistent or unexplained flicker warrants professional testing.
Use this quick checklist to decide urgency:
- Emergency — Call now: Whole-house flicker, burning odor, hot outlets, visible arcing, or repeated breaker failure.
- Schedule inspection: Persistent or recurring flicker, dimmer incompatibility after a bulb swap, or flicker tied to heavy-load appliances.
- DIY first: Single-bulb flicker, loose bulb or socket, or a bulb defect that resolves when replaced.
After triage, note when the flicker happens and what devices were running; that log helps the electrician reproduce and diagnose the issue faster.
Rewired Iowa handles emergency diagnostics and scheduled troubleshooting with a clear diagnostic process and fast response. We start with intake and symptom logging, then perform a visual inspection and thermal imaging when needed, circuit-level testing with meters, and targeted repairs such as tightening connections or replacing breakers. We offer 24/7 emergency support and scheduled inspections; call us at to arrange a visit or describe symptoms.
What Are the Fire Hazards Associated with Flickering Lights?

Flicker caused by loose connections or arcing raises the risk of electrical fire because arcing concentrates heat at termination points and can ignite nearby insulation or combustible materials. The National Fire Protection Association lists electrical distribution failures and malfunctioning appliances among leading causes of residential fires, so addressing arcing and overheating quickly is critical. Early warning signs include intermittent flicker, discolored or melted insulation, and a persistent burning smell—any of which should prompt you to shut down the circuit and call a professional. Acting fast reduces the chance that a nuisance flicker becomes a destructive fire.
Remember the causal chain: loose connection → arcing → heat → ignition. That sequence is why rapid intervention matters.
How Does Rewired Iowa Diagnose and Repair Flickering Lights?
We follow a step-by-step diagnostic workflow to find the root cause of flicker and fix it with the least invasive, safest solution. Our process starts with intake to document symptoms, frequency, and patterns. Technicians then do a visual check, torque and connection inspections, thermal imaging to locate hotspots, and meter testing to measure voltage stability and load behavior. Load testing helps reveal overloaded circuits or failing breakers under real conditions. Repairs range from tightening and re-terminating loose connections and replacing fatigued breakers to panel upgrades and installing LED-compatible dimmers and drivers.
Customers get clear estimates, information about our 5-Year Workmanship Guarantee, and straightforward pricing. We pride ourselves on fast, friendly service for both residential and commercial clients across Central Iowa.
How Can Preventative Electrical Maintenance Stop Flickering Lights?
Preventative maintenance catches degraded parts and load imbalances before they create intermittent supply or dangerous arcing. A proactive plan includes periodic torque checks, thermal imaging to spot hot spots, load balancing across circuits, and checking dimmers and LED drivers for compatibility. Regular maintenance means fewer emergency calls, longer fixture and driver life, and better overall electrical safety. Keeping a maintenance cadence and documenting findings builds a history that speeds later diagnostics if new symptoms appear.
| Inspection Item | What It Detects | Preventive Outcome |
|---|---|---|
| Thermal imaging | Hot spots at breakers and terminals | Early detection of loose or overloaded connections |
| Torque checks | Loose terminations on lugs and breakers | Prevents arcing and reduces flicker and nuisance trips |
| Load balancing review | Overloaded circuits and unusual load patterns | Guides circuit redistribution or panel upgrades |
| Dimmer and driver testing | Incompatibility between controls and LEDs | Ensures stable dimming and eliminates flicker |
Routine maintenance is an investment that reduces long-term risk and keeps your home’s electrical system steady.
What Routine Checks Help Identify Flickering Light Causes Early?
Routine checks focus on the parts most likely to fail: connections, breakers, and load distribution. Thermal imaging spots hotspots, torque verification confirms tight terminations, and tracking circuit loads during peak use reveals developing faults before they cause visible flicker or failure. Keep a simple log of times, appliances in use, and conditions—that information is valuable to a technician. Scheduling periodic professional inspections helps catch issues while they’re still easy to repair and avoids emergency fixes caused by unchecked arcing or overload.
Early detection prevents one degraded connection from cascading into system-level instability and repeated service calls.
How Do Panel Upgrades and Wiring Repairs Prevent Future Flickering?
Panel upgrades and wiring repairs tackle the root causes of persistent flicker by adding capacity, replacing worn components, and eliminating high-resistance connections that arc under load. A modern panel offers better bussing, more reliable breakers, and improved circuit layout, which reduces voltage drops and prevents overloads. Replacing old or damaged wiring and reterminating connections removes hot spots that produce heat and flicker. While upgrades cost more up front, they lower the chance of repeat failures, reduce fire risk, and make room for future needs like EV chargers or backup generators.
Targeted repairs fix localized faults quickly; upgrades provide longer-term resilience and capacity that reduce flicker across the home.
Conclusion
Flickering lights often point to electrical issues that deserve attention. Understanding the likely causes and early warning signs helps you act quickly and safely. When in doubt—especially if you notice burning smells, hot outlets, whole-house flicker, or repeated breaker trips—call a licensed electrician. For expert help in Central Iowa, contact Rewired Iowa to schedule an evaluation and protect your home.
- Document the symptom pattern: Note when, where, and what loads were running when the flicker occurred.
- Perform safe DIY checks: Tighten bulbs, test with known-compatible bulbs, and reduce simultaneous heavy loads.
- Call a licensed electrician: For burning smells, hot outlets, whole-house flicker, or repeated breaker problems.
Need Professional Help with Flickering Lights?
If you need professional diagnosis or emergency response in Central Iowa, contact Rewired Iowa for reliable service.
Frequently Asked Questions
What are the signs that indicate I need to call an electrician for flickering lights?
Call an electrician if you experience whole-house flickering, a burning smell, hot outlets or switches, visible scorch marks, frequent breaker trips, or flicker that comes with appliance issues. These signs point to potential hazards and need immediate professional attention. If you see any of these, turn off the affected circuit and contact a licensed electrician to prevent fire and equipment damage.
How can I prevent flickering lights in my home?
Prevent flicker with regular maintenance and monitoring: schedule torque checks on connections, use thermal imaging to find hotspots, balance loads across circuits, and make sure dimmers and LED drivers are compatible. Keep a log of electrical usage patterns so you can spot trends early. Regular inspections by a licensed electrician help keep your system safe and reliable.
What should I do if my lights flicker only when certain appliances are in use?
If flicker happens only when particular appliances run, you’re likely dealing with an overloaded circuit. High-demand devices cause voltage drops that dim lights. Try redistributing appliances to other circuits, and if the problem continues, schedule a load assessment with a licensed electrician to evaluate circuit capacity and recommend fixes or upgrades.
Are there any DIY checks I can perform before calling an electrician?
Yes. Start by tightening loose bulbs and checking fixtures for secure connections. Swap in a known-compatible bulb to rule out lamp issues. Observe whether the flicker follows appliance use, which can show an overloaded circuit. But if you smell burning, feel hot outlets, or see scorch marks, call a professional immediately—those are not DIY situations.
What are the potential risks of ignoring flickering lights?
Ignoring flicker can lead to serious hazards, including electrical fires. Underlying problems like loose connections or overloaded circuits can cause arcing and overheating. The National Fire Protection Association notes that electrical failures are a leading cause of residential fires, so address flicker promptly to protect your home and family. Electrical troubleshooting repairs are crucial to prevent these issues.
How often should I schedule electrical inspections to prevent flickering lights?
We recommend scheduling electrical inspections every three to five years, or sooner if you experience issues like flickering lights. Regular checks catch potential problems before they escalate. If you add heavy loads or renovate, consider an inspection to confirm your system can handle the change.
What should I expect during a professional electrical inspection for flickering lights?
During an inspection, the electrician will first gather symptom details and patterns. They’ll do a visual panel and connection check, use thermal imaging to find hotspots, and employ voltage meters to measure stability. They may perform load testing to recreate the issue. After diagnosing the root cause, they’ll recommend repairs or upgrades and provide an estimate to restore safe, reliable operation.
Conclusion
Addressing flickering lights is crucial for maintaining both safety and comfort in your home. By understanding the various causes and taking prompt action, you can prevent potential hazards and ensure reliable electrical performance. If you’re experiencing persistent flicker or any alarming signs, don’t hesitate to reach out to a licensed electrician for a thorough evaluation. For expert assistance in Central Iowa, contact Rewired Iowa today.